
Yes, Cloud 9 works with Node.js on platforms like Heroku and DigitalOcean. With Cloud 9, you can develop, deploy, and manage Node.js applications seamlessly on these hosting services.
Cloud 9 is a versatile development environment that supports Node. js and allows developers to work with ease on platforms like Heroku and DigitalOcean. By leveraging Cloud 9, developers can efficiently develop, deploy, and manage Node. js applications on these hosting services.
Whether you are a beginner or an experienced developer, Cloud 9 provides a user-friendly interface and powerful features to streamline your development process. We will explore how Cloud 9 integrates with Node. js and enables seamless deployment to Heroku and DigitalOcean. So, let’s dive in and discover the possibilities that Cloud 9 offers for Node. js development on these platforms.
Introduction To Cloud 9 And Node.js Deployment
Cloud 9 is compatible with Node. js for deployment on platforms like Heroku and DigitalOcean. This allows seamless integration and easy deployment of Node. js applications to these cloud platforms. With Cloud 9, developers can efficiently build, test, and deploy Node.
js applications to various hosting services.
What Is Cloud 9 Ide?
Cloud 9 is a cloud-based integrated development environment (IDE) that allows developers to write, run, and debug code entirely online.Importance Of Node.js In Modern Web Development
Node.js is crucial in modern web development for its ability to run JavaScript code on the server-side, enabling real-time applications and efficient data streaming.
Credit: medium.com
Setting Up A Node.js Project On Cloud 9
If you are looking to develop a Node.js application, Cloud 9 can be an excellent choice for your development environment. Cloud 9 is a cloud-based IDE that allows you to develop and deploy web applications quickly and easily. This post will guide you through the process of setting up a Node.js project on Cloud 9.
Creating A New Workspace
To get started, you need to create a new workspace on Cloud 9. Follow these steps:
- Log in to your Cloud 9 account.
- Click on the “Create a New Workspace” button in the dashboard.
- Choose the “Blank” template and give your workspace a name.
- Choose the appropriate workspace settings, such as the team, environment, and visibility.
- Click on the “Create Workspace” button.
Configuring The Development Environment
Once you have created a workspace, you need to configure your development environment. Follow these steps:
- Click on the “Create a New File” button and name the file “package.json”.
- Add the following code to the package.json file:
{
  "name": "my-node-app",
  "version": "1.0.0",
  "description": "My Node.js Application",
  "main": "app.js",
  "scripts": {
    "start": "node app.js"
  },
  "dependencies": {
    "express": "^4.17.1"
  }
}
- Click on the “Save” button to save the package.json file.
- Click on the “Create a New File” button and name the file “app.js”.
- Add the following code to the app.js file:
const express = require('express');
const app = express();

app.get('/', (req, res) => {
  res.send('Hello World!');
});

app.listen(process.env.PORT || 3000, () => {
  console.log('Server listening on port 3000.');
});
- Click on the “Save” button to save the app.js file.
- Click on the “Run Project” button to start the application.
Now, you have successfully set up a Node.js project on Cloud 9. You can continue to develop your application and deploy it to Heroku or DigitalOcean when you are ready.
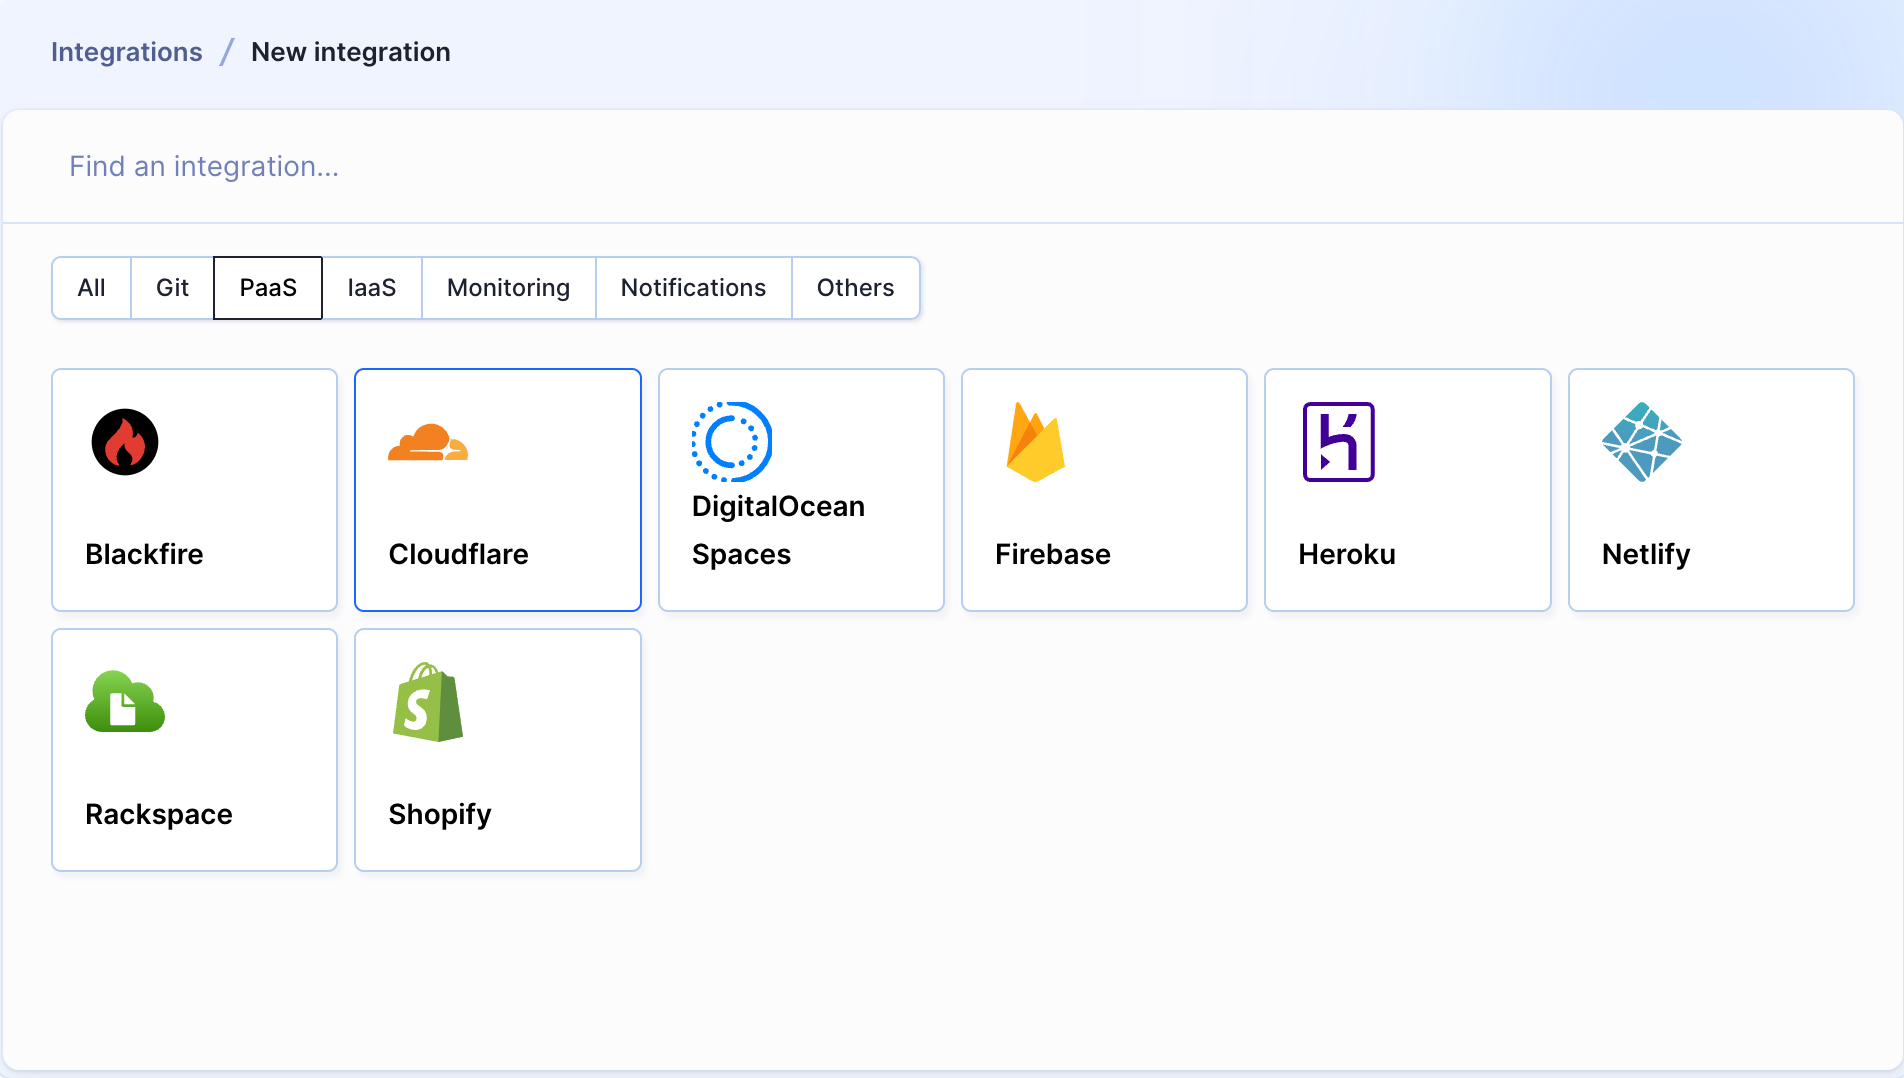
Understanding Heroku And Digitalocean Platforms
Understanding the compatibility of Cloud 9 with Node. js, Heroku, and DigitalOcean is crucial for seamless deployment and hosting. Explore the functionalities and benefits of these platforms to make informed decisions for your cloud-based projects.
Key Features Of Heroku For Node.js Apps
Advantages Of Using Digitalocean For Deployment
Credit: buddy.works
Preparing Node.js App For Deployment
To prepare a Node. js app for deployment, developers can use Cloud 9 to test their code and then deploy it to platforms like Heroku or DigitalOcean. This process involves configuring the app for the target platform and ensuring it meets all necessary requirements for deployment.
Managing Dependencies
To prepare your Node.js app for deployment, managing dependencies is the first and foremost task you need to perform. You can use Node Package Manager (npm) or Yarn to manage your app’s dependencies. These tools allow you to easily install, update, and remove dependencies. You can also specify the exact version of each dependency your app requires. For example, if you want to use the Express framework, you can install it using the command:npm install express
It will automatically download and install the latest version of Express and its dependencies. You can also specify the version of Express by using the following command:
npm install [email protected]
This will install version 4.17.1 of Express. Managing dependencies is essential to ensure that your app runs smoothly in any environment.
Environment Variables And Configuration
Another important step in preparing your Node.js app for deployment is setting up environment variables and configuration. Environment variables are values that are specific to the environment your app is running in. For example, you might want to set a different database URL for your local development environment versus your production environment. You can set environment variables using the command line or by using a .env file. The .env file contains key-value pairs that are loaded into your app’s environment when it starts up. You can access these variables using the process.env object in your code. It’s important to properly configure your app for each environment to ensure that it runs smoothly and securely. You should also avoid hardcoding any sensitive information in your code, such as API keys or database passwords. In conclusion, preparing your Node.js app for deployment involves managing dependencies and setting up environment variables and configuration. By taking these steps, you can ensure that your app runs smoothly and securely in any environment.Deploying From Cloud 9 To Heroku
Deploying your Node.js application from Cloud 9 to Heroku is a straightforward process that allows you to easily host and manage your application on the Heroku platform. In this section, we will explore the steps involved in deploying your application and highlight the key tools and techniques you can use to ensure a smooth deployment process.
Heroku Cli And Git Integration
Before you can deploy your application to Heroku, you need to make sure you have the Heroku Command Line Interface (CLI) installed on your Cloud 9 workspace. The Heroku CLI provides a powerful set of commands that allow you to manage your Heroku applications directly from the command line.
Additionally, you will need to have Git integrated with your Cloud 9 workspace. Git is a version control system that allows you to track changes in your codebase and collaborate with other developers. By integrating Git with your Cloud 9 workspace, you can easily push your code to a remote repository, such as a Heroku Git repository, for deployment.
Troubleshooting Common Deployment Issues
While deploying your Node.js application from Cloud 9 to Heroku is usually a smooth process, there may be times when you encounter common deployment issues. Here are some troubleshooting tips to help you overcome these challenges:
- Verify your Heroku credentials: Ensure that you have the correct Heroku login credentials configured in your Cloud 9 workspace. You can do this by running the
heroku logincommand in the terminal and following the prompts to authenticate. - Check for proper dependencies: Make sure that all the required dependencies for your application are specified correctly in your
package.jsonfile. Verify that you have installed the necessary packages and that they are up to date. - Review your environment variables: Double-check that any environment variables required for your application to run are properly set in the Heroku environment. You can configure environment variables using the Heroku CLI or the Heroku Dashboard.
- Inspect your application logs: If your application is not functioning as expected after deployment, check the Heroku logs for any error messages or warnings. These logs can provide valuable insights into potential issues with your code or configuration.
By following these troubleshooting tips, you can effectively address common deployment issues and ensure a successful deployment of your Node.js application from Cloud 9 to Heroku.
Deploying From Cloud 9 To Digitalocean
Deploying from Cloud 9 to DigitalOcean is a seamless process that allows you to take your Node.js applications from development to production with ease. In this section, we will explore the steps to set up DigitalOcean droplets and use PM2 for process management.
Setting Up Digitalocean Droplets
Creating DigitalOcean droplets for hosting your Node.js application involves a few straightforward steps:
- Create a DigitalOcean account if you don’t have one already.
- Log in to your DigitalOcean account and navigate to the dashboard.
- Click on the “Create” button and select “Droplets” from the dropdown menu.
- Choose the operating system, select the plan that suits your needs, and configure additional settings as required.
- Once the droplet is created, you will receive an email with the login credentials and IP address.
Using Pm2 For Process Management
PM2 is a process manager for Node.js applications that provides features such as auto-restart, log management, and clustering. To use PM2 for managing your Node.js application on DigitalOcean droplets:
- SSH into your DigitalOcean droplet using the provided credentials.
- Install PM2 globally by running the command
npm install pm2 -g. - Navigate to your Node.js application directory and start the application with PM2 using the command
pm2 start app.js. - Monitor the application using PM2 commands like
pm2 list,pm2 logs, andpm2 monit.
Best Practices For Node.js Deployment
Deploying Node.js applications to cloud platforms like Heroku and DigitalOcean can be seamless with the right practices in place. By following best practices, you can ensure a smooth deployment process and efficient management of your applications.
Code Versioning And Rollback Strategies
Implement version control with tools like Git for tracking changes in your Node.js code. This enables easy collaboration and ensures that previous versions can be restored if needed.
Continuous Integration And Continuous Deployment (ci/cd) Pipelines
Set up CI/CD pipelines to automate the testing and deployment process of your Node.js applications. This ensures that code changes are tested and deployed quickly and consistently.
Credit: www.digitalocean.com
Security And Performance Considerations
When deploying Node. js applications to platforms like Heroku or DigitalOcean, it’s crucial to consider both security and performance. Cloud 9 can work with Node. js for seamless integration, but ensuring secure data transfer and optimizing performance are essential steps in the process.
Evaluating these considerations can help in making informed decisions for a robust deployment strategy.
Securing Node.js Applications On The Cloud
Optimizing Performance For Scalability
Security and Performance Considerations: When deploying Node.js applications to Cloud 9, Heroku, or DigitalOcean, security and performance are paramount. Ensuring your application is secure and performs optimally is crucial.Securing Node.js Applications On The Cloud
Implement security measures like data encryption and access controls to protect your Node.js application. Regularly update dependencies to patch vulnerabilities. Consider using HTTPS to encrypt data transmission. Utilize firewalls and intrusion detection systems for added security.Optimizing Performance For Scalability
To enhance performance, optimize code for speed and efficiency. Utilize caching mechanisms and load balancing for scalability. Monitor application performance using tools like New Relic. Fine-tune database queries for better performance. Incorporate CDNs for faster content delivery. Leverage caching strategies to reduce load times. In conclusion, by prioritizing security and performance considerations, you can ensure your Node.js application runs smoothly on Cloud 9, Heroku, or DigitalOcean.Monitoring And Maintenance Post-deployment
After deploying Node. js on Heroku DigitalOcean, monitoring and maintenance become crucial to ensure smooth operations on Cloud 9. Regular monitoring, testing, and optimization of the application can help to prevent downtime, improve performance, and enhance user experience.
Tools For Monitoring Node.js Applications
Utilize tools like New Relic or Datadog.
Monitor performance, errors, and user experience.
Set up alerts for immediate issue detection.
Routine Maintenance Checks And Updates
Regularly update Node.js and dependencies.
Check for security patches and apply promptly.
Perform database backups to prevent data loss.
Conclusion And Future Outlook
Cloud 9 smoothly integrates Node. js with Heroku and DigitalOcean, offering a seamless experience. The future outlook is promising, with continued enhancements expected to streamline deployment processes.
Summarizing Key Takeaways
Cloud 9 is compatible with Node.js for Heroku and DigitalOcean deployment. Cloud 9 offers a seamless workflow for Node.js development and deployment. Node.js applications can be easily pushed to Heroku or DigitalOcean via Cloud 9. The integration of Cloud 9 with Heroku and DigitalOcean simplifies the deployment process. Cloud 9 supports Node.js applications on Heroku and DigitalOcean.Trends In Cloud Deployment And Development Tools
Cloud-based development tools like Cloud 9 are gaining popularity. Node.js is widely used for cloud deployment. Heroku and DigitalOcean are preferred platforms for hosting Node.js applications. The future of cloud deployment tools is focused on seamless integration and ease of use. Developers are increasingly relying on cloud-based tools for efficient deployment. Conclusion and Future Outlook: Cloud 9 effectively supports Node.js deployment on Heroku and DigitalOcean, streamlining the development process. The trends in cloud deployment tools indicate a shift towards more intuitive and user-friendly platforms. As technology advances, the integration between development tools and cloud platforms will continue to evolve, enhancing the efficiency and scalability of applications deployed in the cloud.Frequently Asked Questions
How To Deploy Nodejs To Digitalocean?
To deploy Node. js to DigitalOcean, follow these steps: 1. Create a DigitalOcean account and create a new droplet. 2. Choose a Node. js image and select the desired specifications for your droplet. 3. SSH into your droplet and install Node.
js. 4. Upload your Node. js application files to the droplet. 5. Start your Node. js application and configure any necessary environment variables.
What Is The Difference Between Heroku And Digitalocean?
Heroku is a fully managed platform, while DigitalOcean offers more control and flexibility. Heroku is easier to use for beginners, while DigitalOcean is better for experienced developers. Heroku is more expensive, but DigitalOcean allows for more customization and scalability.
How To Deploy Node Api On Heroku?
To deploy a Node API on Heroku, follow these steps: 1. Create a Heroku account and install the Heroku CLI. 2. Set up your Node project with a package. json file. 3. Use the Heroku CLI to log in and create a new app.
4. Add a Git remote for Heroku to your project. 5. Deploy your app to Heroku using Git.
Where Can I Host My Nodejs App?
You can host your NodeJS app on popular cloud platforms like AWS, Google Cloud, and Microsoft Azure. These platforms offer reliable infrastructure, scalability, and support for NodeJS applications. Additionally, you can also consider specialized hosting providers like Heroku or DigitalOcean for easier deployment and management of your app.
Conclusion
Cloud 9 seamlessly integrates with Node. js, Heroku, and DigitalOcean, providing a robust platform for web development. With its intuitive interface and flexible deployment options, Cloud 9 offers a scalable solution for developers. By leveraging its collaborative features and efficient workflows, teams can streamline their development process and enhance productivity.


