To install MySQL on CentOS 7 DigitalOcean, follow these steps: First, update the system by running the command “sudo yum update” in the terminal. Then, install MySQL by typing “sudo yum install mysql-server” and press enter.
After the installation, start the MySQL service using the command “sudo systemctl start mysqld”. Finally, secure the MySQL installation by running “sudo mysql_secure_installation” and follow the prompts. Now, let’s dive into the process of installing MySQL on CentOS 7 DigitalOcean.
By carefully following these steps, you’ll have MySQL up and running in no time. So, let’s get started!

Credit: onesmartsheep.com
Introduction To Mysql On Centos 7
Learn how to install MySQL on CentOS 7 with this comprehensive guide for DigitalOcean users. Follow the step-by-step instructions to set up MySQL on your CentOS 7 server and optimize your database management system efficiently.
Benefits Of Mysql
MySQL is a popular relational database management system.Why Choose Centos 7 For Mysql
CentOS 7 is known for its stability and security features.Prerequisites For Installation
To successfully install MySQL on CentOS 7 DigitalOcean, ensure that you have a compatible operating system, a stable internet connection, and the necessary administrative privileges. Follow the step-by-step instructions provided to complete the installation process smoothly and efficiently.
Before installing MySQL on CentOS 7 DigitalOcean, there are some prerequisites that need to be fulfilled. These include setting up the CentOS 7 server, installing the required software packages, and configuring the firewall settings. In this article, we will walk you through each step of the process, ensuring that you have all the necessary tools and knowledge to successfully install MySQL on your CentOS 7 DigitalOcean server.Centos 7 Server Setup
Firstly, you need to set up a CentOS 7 server on DigitalOcean. This can be done easily by following these steps:- Create a new Droplet on DigitalOcean
- Select CentOS 7 as the operating system
- Select the size of the Droplet based on your requirements
- Choose a datacenter region closest to your location
- Click on “Create” to create the Droplet
Required Software Packages
To install MySQL on CentOS 7, you need to install some required software packages. These include:- MySQL Community Release RPMs
- MySQL Yum Repository
yum install https://dev.mysql.com/get/mysql80-community-release-el7-3.noarch.rpm
yum install mysql-community-server
Firewall Configuration
By default, the firewall on CentOS 7 blocks all incoming traffic. To allow incoming traffic to MySQL, you need to open the MySQL port (3306) in the firewall. You can do this by running the following command:firewall-cmd --add-port=3306/tcp --permanent
firewall-cmd --reloadStep-by-step Installation Guide
In this step-by-step installation guide, we will walk through the process of installing MySQL on CentOS 7 on a DigitalOcean droplet. MySQL is one of the most popular relational database management systems, and installing it on CentOS 7 is a relatively straightforward process. By following these simple steps, you can have MySQL up and running on your server in no time.
Adding The Mysql Repository
To begin the installation process, the first step is to add the MySQL repository to your CentOS 7 server. This can be achieved by using the following commands in the terminal:
sudo yum install https://dev.mysql.com/get/mysql80-community-release-el7-3.noarch.rpm
This command will add the MySQL Yum repository to your system, allowing you to easily install and manage MySQL using the yum package manager.
Installing Mysql Server
Once the MySQL repository has been added, the next step is to install the MySQL server package. This can be done by running the following command in the terminal:
sudo yum install mysql-server
After the installation is complete, you can start the MySQL service and enable it to start on boot by using the following commands:
sudo systemctl start mysqld
sudo systemctl enable mysqld
With these simple steps, you can successfully install MySQL on your CentOS 7 server and begin using it to power your applications and websites.
Securing Mysql Post-installation
After successfully installing MySQL on Centos 7 DigitalOcean, it is important to secure it by configuring the root password, creating a new user with restricted privileges, and disabling remote root access. This will ensure that your database is protected from potential security threats.
Now that we have successfully installed MySQL on our CentOS 7 DigitalOcean droplet, it’s time to ensure the security of our database. We can do this by running the security script, setting up strong password policies, and other security measures.Running The Security Script
MySQL provides a built-in security script that allows us to secure our installation easily. To run the script, log in to your MySQL server as the root user and run the following command:mysql_secure_installation
This command will prompt you to answer a series of questions and set up various security options, such as removing anonymous users, disabling remote root login, and removing test databases. It’s recommended to answer yes to all questions to ensure maximum security.
Setting Up Strong Password Policies
Another essential security measure for MySQL is setting up strong password policies. By default, MySQL allows weak passwords that are easy to crack, so it’s essential to configure the password policies to enforce strong passwords. To set up password policies, open the MySQL configuration filemy.cnf[mysqld] section:
validate_password=ON
validate_password_length=8
validate_password_mixed_case_count=1
validate_password_number_count=1
validate_password_special_char_count=1
These settings will enforce passwords that are at least eight characters long, contain a mix of upper and lowercase letters, numbers, and special characters.
Other Security Measures
Apart from running the security script and setting up password policies, there are other security measures you can implement to secure your MySQL installation, such as:- Limiting network access to your MySQL server
- Disabling unnecessary MySQL features and plugins
- Encrypting MySQL traffic using SSL/TLS
- Regularly updating MySQL to the latest version to patch security vulnerabilities
Configuring Mysql
Once MySQL is installed on your CentOS 7 DigitalOcean server, the next step is to configure it according to your needs. This involves adjusting user settings and tweaking performance parameters. In this section, we will walk you through these steps to ensure your MySQL installation is optimized for your requirements.
Adjusting User Settings
When it comes to user settings in MySQL, it’s important to secure your installation by setting a strong root password. To do this, follow these steps:
- Log in to your CentOS 7 server using SSH.
- Open the MySQL command-line client by typing
mysql -u root -pand pressing Enter. - Enter your current root password when prompted.
- Once logged in, you can change the root password by executing the following command, replacing
new_passwordwith your desired strong password:ALTER USER 'root'@'localhost' IDENTIFIED BY 'new_password'; - After setting the new password, run the following command to refresh the privileges and exit the MySQL command-line client:
FLUSH PRIVILEGES; EXIT;
Tweaking Performance Parameters
Optimizing the performance of your MySQL installation is crucial for efficient database operations. Here are a few performance parameters you can tweak:
- Buffer Pool Size: This parameter determines the amount of memory allocated for caching data and indexes. Increasing this value can improve performance, especially if you have enough available memory. You can configure it by editing the
my.cnffile. - Max Connections: This parameter defines the maximum number of simultaneous connections allowed to the MySQL server. Adjust this value based on your expected workload, ensuring you have enough resources to handle the connections.
- Query Cache Size: Enabling the query cache can improve performance by caching the results of frequently executed queries. However, excessive use of the query cache can negatively impact performance, so it’s important to find the right balance. You can adjust the query cache size in the
my.cnffile.
Remember to restart the MySQL service after making any changes to the configuration file for the changes to take effect.
By adjusting user settings and tweaking performance parameters in MySQL on your CentOS 7 DigitalOcean server, you can optimize your database for better security and performance. Secure your root password and fine-tune the performance parameters to ensure your MySQL installation meets your specific requirements.
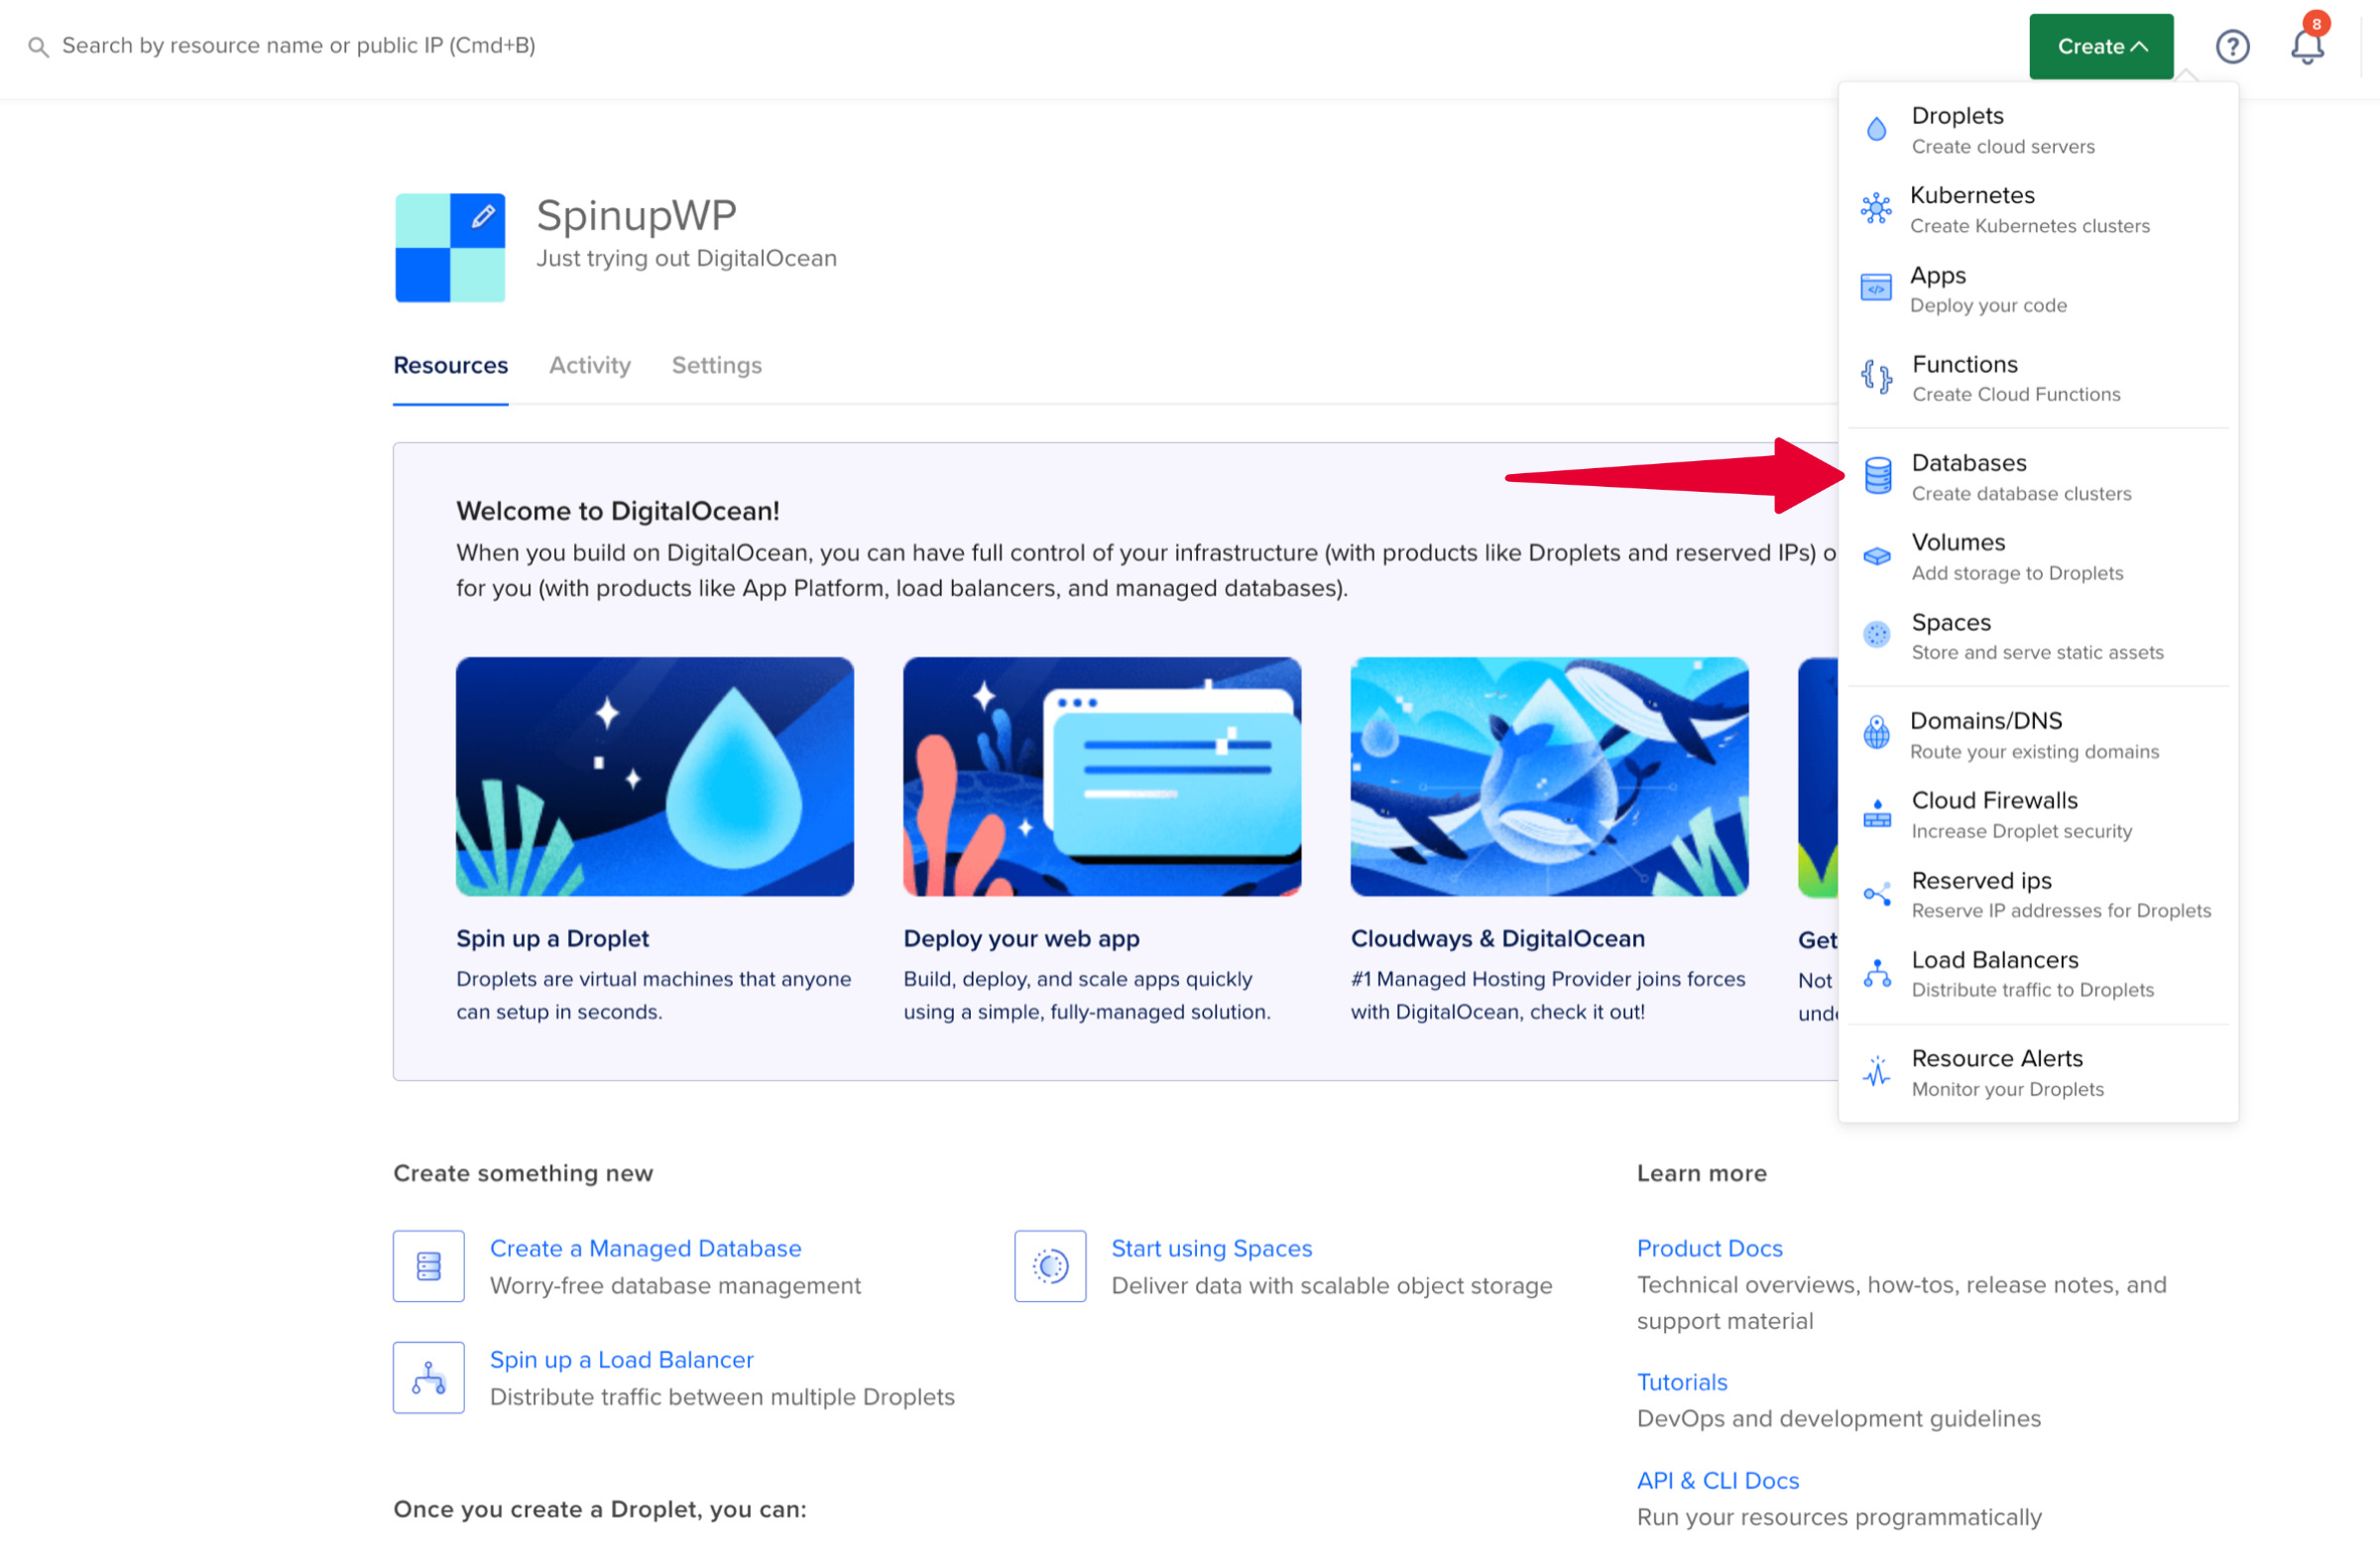
Credit: spinupwp.com
Managing Mysql Services
Managing MySQL services is an essential aspect of maintaining a stable and secure database environment. Whether you are starting, stopping, or configuring MySQL to run automatically upon system boot, knowing how to effectively manage MySQL services is crucial for ensuring the smooth operation of your database server.
Starting And Stopping Mysql
To start the MySQL service on CentOS 7, use the following command:
sudo systemctl start mysqldTo stop the MySQL service, execute the command:
sudo systemctl stop mysqldEnabling Mysql To Start On Boot
To enable MySQL to start automatically when the system boots, type the following command:
sudo systemctl enable mysqld
Testing The Mysql Installation
After installing MySQL on Centos 7 DigitalOcean, you can test the installation by running the command “mysql -u root -p”. This will prompt you to enter the root password and if successful, you will gain access to the MySQL command line.
Accessing The Mysql Shell
To access the MySQL shell, use the following command: “`bash mysql -u root -p “` Enter your MySQL root password when prompted.Creating And Querying A Test Database
To create a new database, use the command: “`sql CREATE DATABASE testdb; “` Switch to the newly created database: “`sql USE testdb; “` Create a sample table within the database: “`sql CREATE TABLE users (id INT, name VARCHAR(50)); “` Insert data into the table: “`sql INSERT INTO users (id, name) VALUES (1, ‘John’); “` Query the table to view the data: “`sql SELECT FROM users; “` Verify the data output to ensure the database is functioning correctly.Troubleshooting Common Issues
Encountering problems while installing MySQL on CentOS 7 DigitalOcean? Here are solutions:
Dealing With Connection Errors
- Check firewall settings for port 3306.
- Ensure MySQL service is running using
systemctl status mysqld. - Verify correct username and password in MySQL config file.
Resolving Permission Problems
- Grant necessary permissions with
GRANT ALL PRIVILEGEScommand. - Check file and directory permissions for MySQL data directory.
- Restart MySQL service after making permission changes.
Best Practices For Mysql On Digitalocean
Learn how to install MySQL on CentOS 7 DigitalOcean with these best practices. Following these guidelines will ensure optimal performance and security for your database, including setting up a firewall, creating a secure root password, and configuring remote access.
Regular Backups
Regular backups are crucial for data safety and recovery.
Monitoring And Optimization
Monitor and optimize MySQL for optimal performance.

Credit: www.digitalocean.com
Conclusion And Next Steps
Discover the seamless process of installing MySQL on CentOS 7 with DigitalOcean. Take the next steps confidently to enhance your server performance. Follow the clear instructions for a successful setup and optimization.
Recap Of Installation Steps
1. Update package index using `sudo yum install epel-release`.
2. Install MySQL using `sudo yum install mysql-server`.
3. Start MySQL service with `sudo systemctl start mysqld`.
4. Secure MySQL installation with `sudo mysql_secure_installation`.
Further Learning Resources
1. MySQL Documentation: MySQL Docs
2. DigitalOcean Community Tutorials: DigitalOcean Tutorials
3. MySQL on CentOS Official Guide: MySQL on CentOS Guide
Frequently Asked Questions
How Do I Install Mysql On Centos 7?
To install MySQL on CentOS 7, follow these steps: 1. Update your system: `sudo yum update` 2. Install MySQL repository: `sudo yum install https://dev. mysql. com/get/mysql80-community-release-el7-3. noarch. rpm` 3. Install MySQL server: `sudo yum install mysql-server` 4. Start MySQL service: `sudo systemctl start mysqld` 5.
Secure MySQL installation: `sudo mysql_secure_installation` That’s it! MySQL is now installed on CentOS 7.
How To Setup Mysql On Digitalocean?
To set up MySQL on DigitalOcean, create a droplet, choose a MySQL image, and follow the installation prompts. Then secure the installation and configure the database. Finally, start and enable the MySQL service.
How To Connect Mysql In Centos 7?
To connect MySQL in CentOS 7, follow these steps: 1. Install MySQL: “sudo yum install mysql-server” 2. Start MySQL service: “sudo systemctl start mysqld” 3. Secure MySQL installation: “sudo mysql_secure_installation” 4. Access MySQL: “mysql -u root -p” 5. Create a new user and grant privileges: “CREATE USER ‘username’@’localhost’ IDENTIFIED BY ‘password’; GRANT ALL PRIVILEGES ON *.
* TO ‘username’@’localhost’; FLUSH PRIVILEGES. “
How To Install Mysql On Centos 8 Digitalocean?
To install MySQL on CentOS 8 DigitalOcean, follow these steps: 1. Connect to your CentOS server via SSH. 2. Update the system: sudo yum update -y. 3. Install the MySQL repository: sudo dnf install https://dev. mysql. com/get/mysql80-community-release-el8-1. noarch. rpm. 4. Install MySQL: sudo dnf install mysql-server -y.
5. Start MySQL and enable it to start on boot: sudo systemctl start mysqld && sudo systemctl enable mysqld.
Conclusion
Installing MySQL on CentOS 7 DigitalOcean is a straightforward process that can greatly benefit your web hosting environment. By following the step-by-step guide outlined in this blog post, you can ensure a smooth and successful installation. With MySQL in place, you’ll be equipped to handle your database management needs with ease and efficiency.