
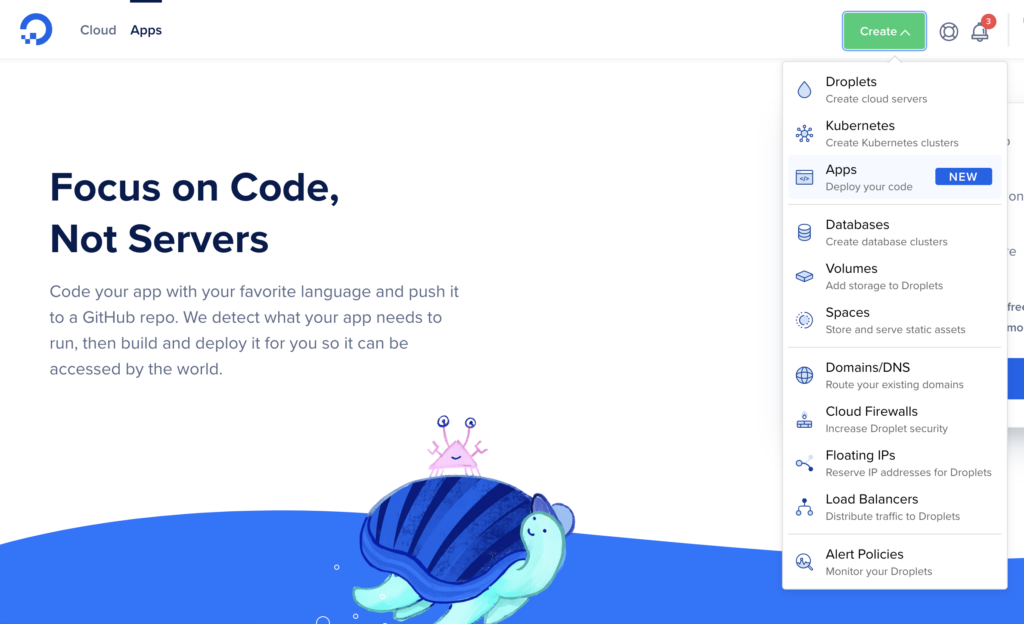
To push code to DigitalOcean, you can use their built-in tools like the DigitalOcean App Platform, which allows you to deploy your code directly from a Git repository. Alternatively, you can use the DigitalOcean Droplets feature to create a virtual server and then use SSH to connect and upload your code manually.
DigitalOcean provides several ways to push code to their platform. One option is to use the DigitalOcean App Platform, which enables you to deploy your code directly from a Git repository. Another method involves creating a virtual server using DigitalOcean Droplets and then using SSH to upload your code manually.
Both approaches offer flexibility and convenience in pushing your code to DigitalOcean.

Credit: stackoverflow.com
Introduction To Digitalocean And Code Deployment
- Highly scalable infrastructure
- Robust security features
- Easy-to-use control panel
- Cost-effective pricing plans
- Access to DigitalOcean account
- Basic knowledge of Git
- Understanding of SSH keys
- Knowledge of server management
Setting Up Your Digitalocean Environment
Before you can push your code to DigitalOcean, you need to set up your environment properly. This includes creating a droplet and configuring your server for deployment.
Creating A Droplet
To create a droplet, follow these simple steps:
- Log in to your DigitalOcean account.
- Click on the “Create” button and select “Droplets”.
- Choose your desired specifications for the droplet such as the operating system, CPU, memory, and storage.
- Specify the region where you want your droplet to be located.
- Select any additional options you might need, such as backups or user data.
- Give your droplet a name and click “Create Droplet”.
After creating a droplet, you will receive an email with your droplet’s IP address, username, and password. You can use these credentials to log in to your server.
Configuring Your Server For Deployment
Once you have created your droplet, you need to configure your server for deployment. Here are the steps to follow:
- Log in to your server using the credentials provided in the email.
- Update your server’s packages by running the following command:
sudo apt-get update- Install any required software or dependencies for your application.
- Configure your firewall to allow traffic on the necessary ports.
- Set up any necessary SSL certificates for secure communication.
- Configure your web server to serve your application.
Once you have completed these steps, your server is ready for deployment.
Version Control Systems: Preparing Your Code
Version Control Systems play a crucial role in software development, allowing developers to manage and track changes to their code efficiently. Before pushing your code to DigitalOcean, it’s essential to ensure that your Version Control System is set up correctly to facilitate a seamless deployment process.
Using Git For Source Control
Git has emerged as the leading choice for version control due to its speed, flexibility, and distributed nature. By utilizing Git, developers can maintain a complete history of their codebase, enabling collaboration and facilitating seamless integration with deployment platforms like DigitalOcean.
Best Practices For Repository Management
Effective repository management is key to maintaining a well-organized and efficient version control system. By adhering to best practices such as creating descriptive commit messages, utilizing branches effectively, and regularly merging and rebasing, developers can ensure the integrity and coherence of their codebase.

Credit: www.behance.net
Securing Your Deployment
To secure your deployment on DigitalOcean, follow these steps to push code: First, set up SSH key authentication for secure access. Next, use a version control system like Git to push your code to DigitalOcean. Finally, configure firewalls and network settings to restrict access and enhance security.
Setting Up Ssh Keys
SSH keys provide secure authentication between servers and clients. To set up SSH keys for DigitalOcean, follow these simple steps:- Generate an SSH key pair on your local machine using the command
ssh-keygen. - Copy the public key to your DigitalOcean account by going to the Settings tab and clicking on Security.
- Add the private key to your local SSH agent using the command
ssh-add.
Managing User Permissions
Managing user permissions is an important part of securing your deployment. DigitalOcean provides a simple way to manage user permissions using their web interface. To manage user permissions:- Log in to your DigitalOcean account and go to the Team tab.
- Click on Invite a Teammate and enter their email address.
- Select the level of access you want to give them, such as Read Only or Read/Write.
Ensuring Firewall Security
Firewall security is essential for securing your deployment. DigitalOcean provides a firewall service that allows you to control traffic to your servers. To ensure firewall security:- Go to the Networking tab and click on Firewalls.
- Click on Create Firewall and enter a name and description for the firewall.
- Select the droplets you want to apply the firewall to.
- Add rules to the firewall to allow or block traffic.
The Deployment Process: Step-by-step Guide
Deploying your code to DigitalOcean is a crucial step in getting your application up and running. In this step-by-step guide, we will walk you through the process of pushing your code to your DigitalOcean Droplet, ensuring a smooth deployment. Let’s get started!
Connecting To Your Droplet
Before you can push your code to DigitalOcean, you need to establish a connection to your Droplet. Here’s how you can do it:
- Open your preferred terminal application on your local machine.
- Retrieve the IP address of your Droplet from the DigitalOcean control panel.
- Use the SSH command to connect to your Droplet by entering the following command in your terminal:
ssh root@your_droplet_ip_addressReplace “your_droplet_ip_address” with the actual IP address of your Droplet. Press enter and provide the root password when prompted.
Pushing Code From Your Local Machine
Now that you are connected to your Droplet, it’s time to push your code from your local machine. Follow these steps:
- In your terminal, navigate to the directory where your code is located.
- Ensure that your code is properly committed and ready to be pushed.
- Use the SCP command to securely copy your code to the Droplet. Enter the following command in your terminal:
scp -r /path/to/your/code root@your_droplet_ip_address:/path/on/dropletReplace “/path/to/your/code” with the actual path to your code on your local machine, and “/path/on/droplet” with the desired path on your Droplet where you want to store the code. Press enter and provide the root password when prompted.
Once the transfer is complete, your code will be available on your Droplet, ready to be deployed.
That’s it! You have successfully pushed your code to DigitalOcean. Now you can proceed with configuring your application and getting it up and running. Happy coding!

Credit: www.digitalocean.com
Automating Deployments With Continuous Integration
Integrating Ci/cd Pipelines
Automating deployments using Continuous Integration (CI) and Continuous Deployment (CD) pipelines streamlines the process of pushing code to DigitalOcean. By integrating CI/CD pipelines, developers can automate testing, building, and deploying their code, reducing manual errors and increasing the speed of delivery.
Deploying Updates With Zero Downtime
Deploying updates with zero downtime is crucial for ensuring a seamless user experience. By implementing rolling updates and blue-green deployments, developers can minimize disruptions and potential errors during the deployment process. This approach allows for updates to be deployed without interrupting the availability of the application.
Troubleshooting Common Deployment Issues
Learn how to troubleshoot common deployment issues when pushing code to DigitalOcean. Discover effective strategies and solutions to ensure a smooth and successful deployment process, without the need for complicated workarounds or time-consuming fixes.
Debugging Connection Problems
Troubleshooting common deployment issues is vital for successful code deployment. It ensures a smooth and efficient process.Resolving Merge Conflicts
When encountering deployment issues, follow these steps for a seamless resolution: – Check network connectivity. – Review firewall settings. – Confirm SSH key permissions.Debugging Connection Problems
To resolve connection problems, consider these solutions: – Verify server status. – Check network configurations. – Review firewall settings. – Ensure correct SSH key usage.Resolving Merge Conflicts
To address merge conflicts efficiently: – Pull latest changes. – Resolve conflicts locally. – Push changes to repository.Post-deployment: Best Practices
To push code to DigitalOcean post-deployment, it is essential to use best practices. These include setting up a secure SSH connection, using version control, automating deployment, and monitoring your application’s performance. Proper implementation of these practices will ensure smooth and efficient code deployment to DigitalOcean.
Monitoring Server Performance
Regularly monitor server performance to ensure optimal functioning.
- Check CPU and memory usage.
- Monitor network traffic and disk space.
Setting Up Alerts And Logs
Configure alerts for critical events to stay informed of any issues.
- Set up email notifications for key metrics.
- Utilize logging tools to track system activities.
Scaling Your Application With Digitalocean
Upgrading Your Droplet
Upgrade your Droplet for better performance.
Utilizing Load Balancers And Clusters
Use load balancers and clusters for efficient scaling.
Conclusion: Streamlining Your Deployment Workflow
To streamline your deployment workflow and push code to DigitalOcean, utilize automated deployment tools and continuous integration/continuous deployment (CI/CD) pipelines. By leveraging version control systems like Git and platforms such as GitHub or Bitbucket, you can ensure efficient and reliable code deployment.
Embracing containerization with Docker and orchestration with Kubernetes can further enhance your deployment process.
Recap Of Key Steps
After following the steps outlined, you can now efficiently push code to DigitalOcean.
- Connect to your server via SSH.
- Navigate to the directory where your code is stored.
- Pull the latest changes from your Git repository.
- Build and compile your code, if necessary.
- Restart your application to apply the changes.
Further Resources For Learning
For more in-depth knowledge on code deployment and server management, consider exploring the following resources:
- DigitalOcean Community Tutorials
- Official documentation for your programming language or framework
- Online courses on DevOps and deployment workflows
Frequently Asked Questions
How Do I Deploy Code To Digitalocean?
To deploy code to DigitalOcean, you can use their App Platform, which allows you to quickly deploy and manage your applications. Alternatively, you can use their Droplets service to manually deploy your code. First, create a Droplet and install your application dependencies.
Then, upload your code and start your application.
How Do I Push Code To Github Digitalocean?
To push code to GitHub from DigitalOcean, first connect your GitHub account to the DigitalOcean droplet. Then, use Git commands to add, commit, and push your code to the GitHub repository.
How Do I Enter A Promo Code On Digitalocean?
To enter a promo code on DigitalOcean, follow these steps: 1. Log in to your DigitalOcean account. 2. Go to the “Billing” section. 3. Click on “Promo Codes” tab. 4. Enter the promo code in the designated field. 5. Click on “Apply” to redeem the promo code.
How Do I Push Local Code To A Git Repository?
To push local code to a git repository, use the “git push” command. First, add and commit your changes. Then, use “git push” followed by the remote repository name and branch. For example, “git push origin main” will push your code to the “main” branch of the “origin” remote repository.
Conclusion
Pushing code to DigitalOcean is a crucial step in the development process. By following the steps outlined in this guide, you can streamline the deployment process and ensure that your code is up and running on DigitalOcean quickly and efficiently.
With the right tools and knowledge, you can take advantage of DigitalOcean’s platform for your development needs.


